Renting a home through GPS Renting comes with many conveniences, but even well-maintained homes can develop minor issues over time. A common example is a loose toilet seat—an annoyance that can become worse if not addressed. Luckily, this is a quick fix whether you take the DIY route or hire a professional.
This guide walks you through how to fix a loose toilet seat, compares DIY vs. professional repair, outlines costs, and helps you decide the best option for your situation.
Key Takeaways
Common Issue: Loose toilet seats are a frequent, minor household problem caused by worn or improperly tightened bolts.
DIY is Easy and Cheap: Most fixes can be done in under 30 minutes using a $3–$10 toilet seat tightening kit.
Professional Help is Optional: Hiring a handyman or plumber can cost $75–$200 but is ideal for complex or damaged setups.
Compare Before You Decide: DIY offers cost savings and quick results; professional service provides peace of mind and long-term reliability.
Best for Renters and Homeowners: This fix is beginner-friendly and doesn’t require advanced skills or tools.
More DIY Tips Available: GPS Renting offers additional guides for drafty windows, ceiling water stains, and squeaky doors.
Why Toilet Seats Get Loose
Toilet seats become loose primarily due to:
Daily usage
Plastic or metal bolts wearing down over time
Improper installation or low-quality hardware
Even if you periodically retighten the bolts, they may come loose again without the right tools or components.
DIY Guide: Fixing a Loose Toilet Seat
Estimated Time: 15–30 minutes
Tools Needed:
Screwdriver
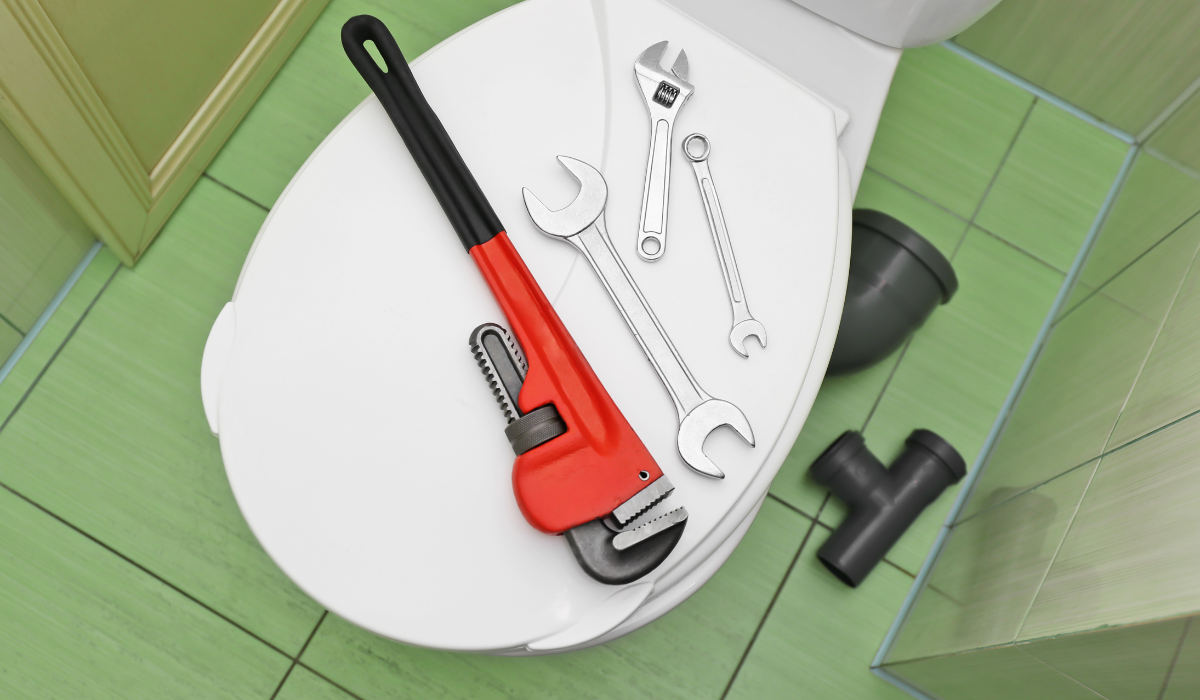
Adjustable wrench
Toilet seat tightening kit (available at hardware stores for $3–$10)
Step-by-Step Instructions
Pop open the hinge-bolt covers at the back of the toilet seat.
Unscrew the nuts underneath the toilet using a wrench or pliers.
Insert a rubber washer or stabilizer (included in tightening kits) under each bolt hole to add friction and stability.
Reinsert the bolts, tighten the nuts securely, and snap the covers back on.
Test the seat to ensure it’s stable.
Tip: If the bolt holes are too wide or damaged, you may need to use a toilet seat stabilizer kit or universal mounting hardware.
Professional Repair: When to Call a Handyman
If the bolts are corroded, the ceramic base is cracked, or you’re uncomfortable working under the toilet bowl, hiring a professional may be the safer option.
Estimated Cost:
Handyman visit: $75–$150
Plumber (if additional issues are found): $100–$200+
What a Professional Offers:
Inspection of the toilet’s stability
Replacement of broken or outdated hardware
Assurance that the fix is permanent and code-compliant
DIY vs. Professional Repair: Pros and Cons
| Factor | DIY Repair | Professional Service |
|---|---|---|
| Cost | $3–$10 | $75–$200 |
| Time | 15–30 minutes | 30–60 minutes (including scheduling) |
| Tools Required | Basic hand tools | None (they bring their own) |
| Skill Level | Beginner-friendly | Not needed |
| Risk of Mistakes | Low, unless seat or bowl is damaged | Very low |
| Peace of Mind | Moderate (DIY satisfaction) | High (professional accountability) |
Disclaimer:

Final Recommendation
For most renters and homeowners, DIY is the best option for fixing a loose toilet seat. It’s quick, cheap, and easy to do with minimal tools. However, if your toilet is older or you spot other plumbing issues, investing in professional help may save time and stress in the long run.
Related DIY Guides from GPS Renting
If you found this helpful, check out our other DIY vs. professional comparisons for common rental issues:
How to Fix Ceiling Water Stains – A Practical Guide for Seattle Homes
Professional vs DIY Guide: How to Fix Squeaky Doors and Floors
Still unsure whether to go DIY or hire help? Reach out to GPS Renting for support—we’re always here to assist our tenants with practical solutions.
