When you rent a house in GPS Renting, you may encounter some common maintenance problems, such as Jammed Garbage Disposal, Loose Toilet Seat, or misaligned door. These problems usually only need to be solved within one hour.So GPS Renting launched a DIY series of articles. In our DIY series, we will teach you how to fix some common household problems to reduce repair costs.
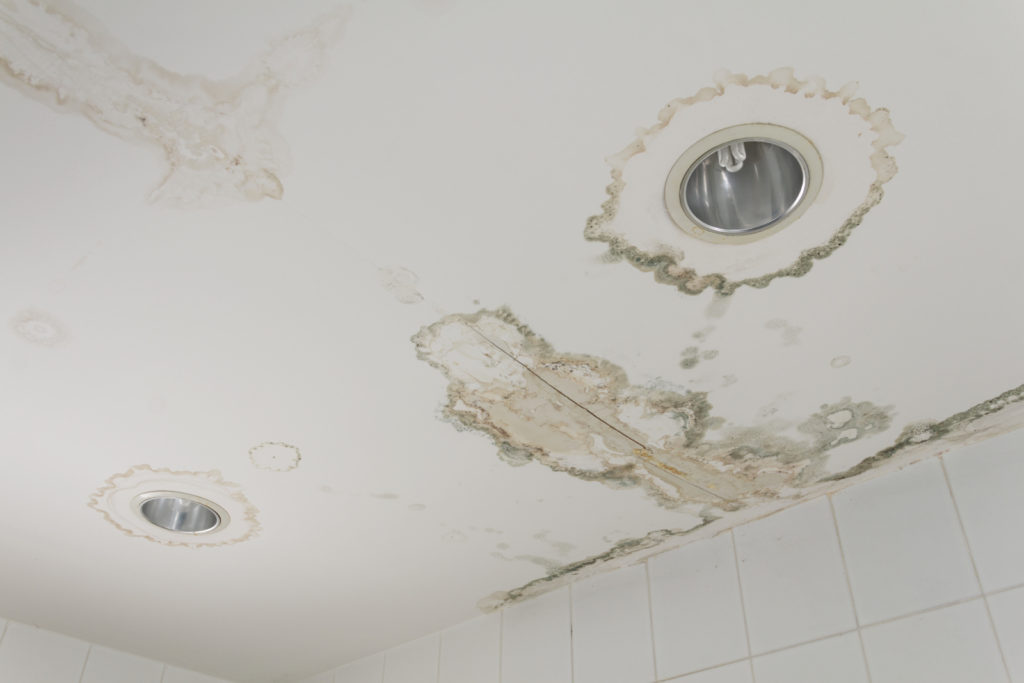
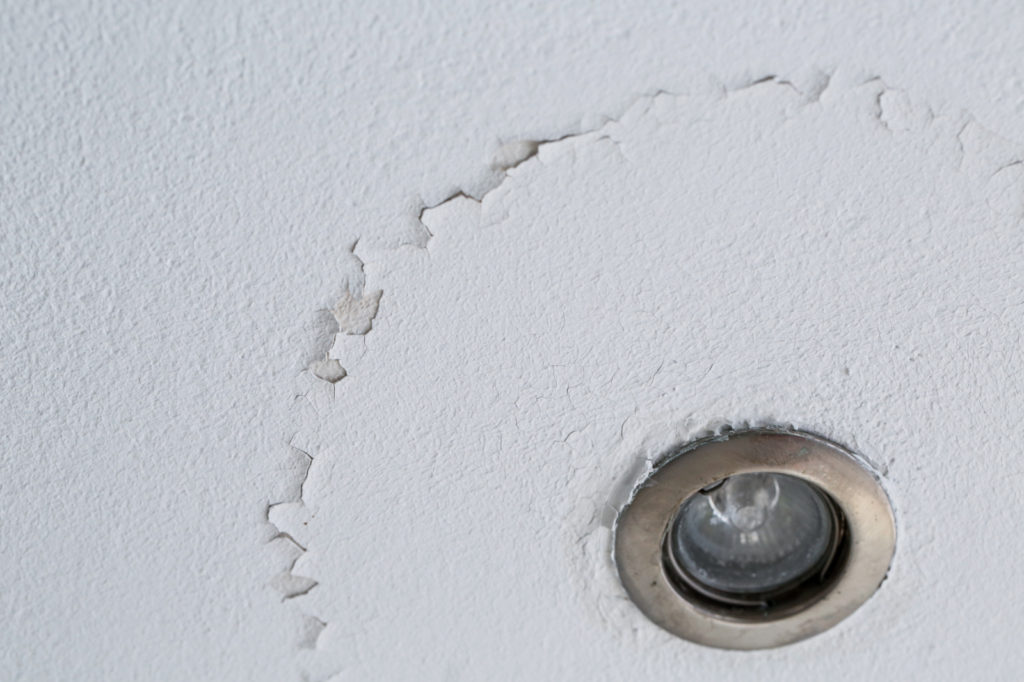
A water stain on a ceiling is a foreboding sight. Not only is it ugly, but it also often means that something is actively leaking, and more damage may be hidden.
But don’t panic — fixing a water stain is pretty straightforward. If you follow this simple guide, you’ll be ready to deal with any discoloration you find on your ceilings.
Find the source
First, check to see if there is any water on the floor below the stain. This will help determine if the leak is still in progress and how heavily it’s leaking.
If water is on the floor, you’ll need to lay down towels or buckets to collect any remaining dripping water. Excessive water on your floor can stain carpets and buckle wood floors, so it’s best to dry it as soon as possible.
You might be tempted to repair floor damage at this time as well, but it’s probably best to wait until after you’ve finished all of the work on the ceiling, including the painting. You wouldn’t want to spill paint on a brand-new rug or on your new hardwood floors.

Stop the leak
Water leaks can be caused by worn gaskets or failed fittings. If your pipes appear dry but you suspect the leak still exists, try running water into the device above the stain. For example, fill up and drain your tub. That should be enough to expose the problem if it still exists.
If you have a leak, you can either hire a plumber or attempt to repair it yourself. Most plumbing repairs are fairly simple and can be performed by most willing homeowners. Some older water stains may have been from a plumbing leak that was repaired years ago, but the stain itself was never properly addressed.

Fix the stain
Check to see if the ceiling is wet or just stained. Most water stains will be on the ceiling below a bathroom fixture.
If the ceiling is wet …
- Poke a hole in the center of the water stain with a drill bit. Have a bucket on hand to catch additional water that’s trapped behind the ceiling.
- Check for mold (see rookie tip below).
- Fix the plumbing issue or hire a professional.
- Make sure the drywall and the joists in the ceiling are dry before patching the ceiling. Patching a drywall hole in a ceiling is a very challenging project for a beginner. If you don’t feel confident in your joint compound skills, then it might be best to hire out this part of the repair.
- After the drywall patch is complete, apply two coats of primer and two coats of flat paint.
- Feather your painting to make sure it appropriately blends with the rest of your ceiling.
Rookie tip: Look for active mold growth in your ceiling space on the joists and on the back of the removed drywall paper. Mold grows readily in dark and damp places — and wet ceiling space is an ideal environment. If you come across mold that you are unsure of, stop work immediately and call a professional.
If the ceiling is dry …
- If it’s not obvious where the stain is coming from, you can cut a hole in your ceiling with a drywall knife to expose the area above the stain. Look for wet or dripping pipes in that ceiling space. Slow, steady leaks from tubs or showers can sometimes occur intermittently.
- If you are sure you are working with an old stain and not an active problem, you do not need to cut into the ceiling. However, if you are concerned about mold, you may want to check.
- If you didn’t replace any drywall, then use a blocking primer and your chosen paint color to hide the stain.
- After the drywall patch is complete, apply two coats of primer and two coats of flat paint.
Rookie tip: Oil-based primers will hide stains better than water-based primers, but they are much more difficult to work with and clean. Water-based primers don’t hide stains as well and might require an extra coat, but brushes and rollers can typically be cleaned with soap and water.
Water leaks are a real pain, but with a little drywall, primer and paint, you’ll be well on your way to a spotless ceiling.
